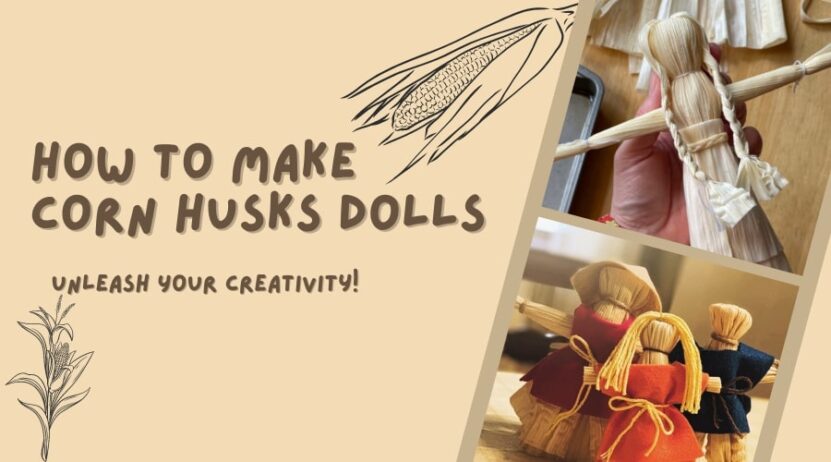
A creative venture can be both a fun pastime and a way to connect with our rich cultural history. Today, we delve into the charming world of Corn Husk Dolls – a craft that originated among Native American tribes but is beloved worldwide today.
This blog post will guide you on how to make these delightful dolls from corn husks step by step. Whether you’re a seasoned crafts enthusiast or a beginner, you’ll find this journey thoroughly engaging.
A Glimpse into the History of Corn Husk Dolls
Corn husk dolls date back thousands of years and were first crafted by Native American tribes. To these tribes, corn was not just a staple food but a gift from the deities. Every part of the corn plant was used, including the husks, which they transformed into beautiful dolls. These dolls weren’t just playthings; they carried profound cultural and spiritual symbolism.
In today’s times, crafting corn husk dolls can be an opportunity to appreciate the cultural heritage and wisdom that these simple yet significant figurines represent.
Materials You Need
Before we dive into the crafting process, let’s gather the necessary supplies. Most of these can be found around your house or at a local craft store. Here’s your shopping list:
- Corn Husks: About 8 to 12 husks per doll. You can find these at a farmer’s market, grocery store, or online. They are often sold dried in the Mexican food section.
- Twine or Dental Floss: This is used to tie the husks together. Dental floss works well because it’s strong and thin.
- Warm Water: For soaking the husks.
- Scissors: To cut the husks into the right shapes and sizes.
- Optional – Markers, Paint, or Fabric Scraps: For decorating your dolls.
Once you’ve gathered your supplies, it’s time to start crafting!
How to Make Corn Husk Dolls
Here’s the step-by-step guide to making your own corn husk doll:
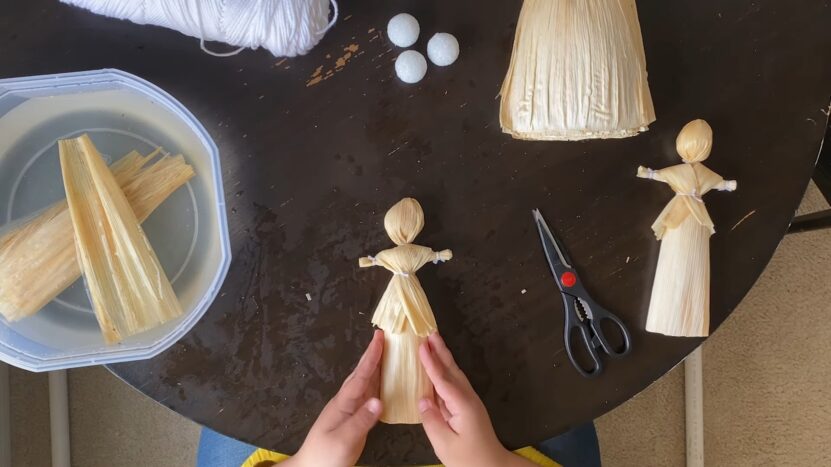
- Soak the Corn Husks: Place your corn husks in a bowl of warm water and let them soak for about 20 minutes or until they become pliable.
- Create the Doll’s Head and Body: Take four husks and trim their tops. Align them at the base and tie them tightly with your twine or floss, about 1 inch from the top. Fold the tied husks down, and you’ll see a shape resembling a head and body.
- Form the Arms: For the arms, take another husk, roll it into a cylindrical shape, and tie at both ends to form ‘hands.’ Trim any excess husk. Slide this ‘arm’ piece between the husks forming the body of the doll, positioning it below the ‘head.’
- Secure the Waist: Now, secure the ‘waist’ of the doll by tying another piece of twine or floss below the arms.
- Form the Skirt or Legs: If you want your doll to have a ‘skirt,’ leave the husks as they are. For ‘legs,’ split the husks into two sections and tie each section at the end to form ‘feet.’
Decoration Process
This is the part where your creativity truly shines. You can leave your doll as it is for a rustic look or decorate it to your heart’s content. Here are a few suggestions:
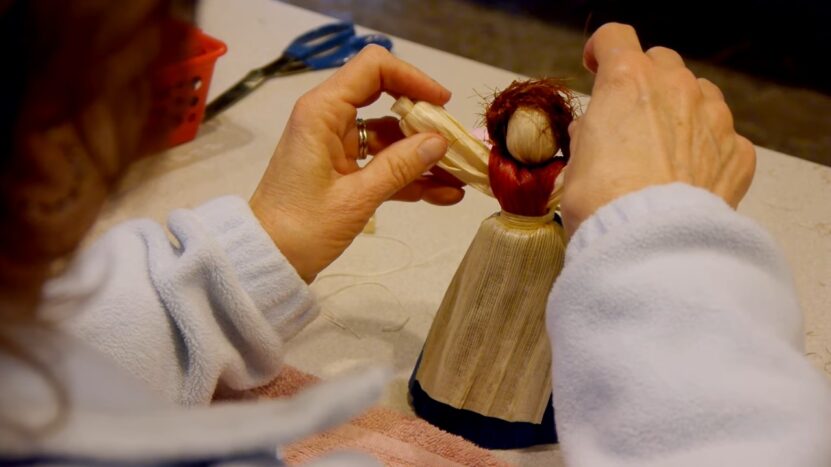
- Draw a Face: Use fine-tip markers to draw a face on your doll. However, traditional corn husk dolls are often faceless, a practice linked to a Native American legend.
- Create Clothing: Use fabric scraps to make clothing for your doll. This could be as simple as a small scarf or as intricate as a dress or a suit.
- Add Hair: Glue yarn or twine on the head of your doll to represent hair. You could even braid the yarn for a more detailed look.
- Use Natural Materials: Consider using dried flowers, leaves, or feathers for decoration, sticking to the doll’s nature-inspired roots.
Remember, there’s no right or wrong way to decorate your doll. This is your creation, so let your imagination run wild!
Care and Maintenance
Corn husk dolls are hardy, but they still need some care. Here are a few tips:
- Avoid Moisture: Keep your dolls in a dry area. Moisture can cause the husks to mold.
- Store Properly: Store them in a place where they won’t be crushed. Though quite durable, the dolls can be damaged under pressure.
- Dust Occasionally: Use a soft brush to gently dust your dolls from time to time.
Advanced Techniques for Corn Husk Doll Making
Once you’ve mastered the basic corn husk doll, you might want to experiment with more complex designs and features. Here are some techniques to elevate your doll-making skills:
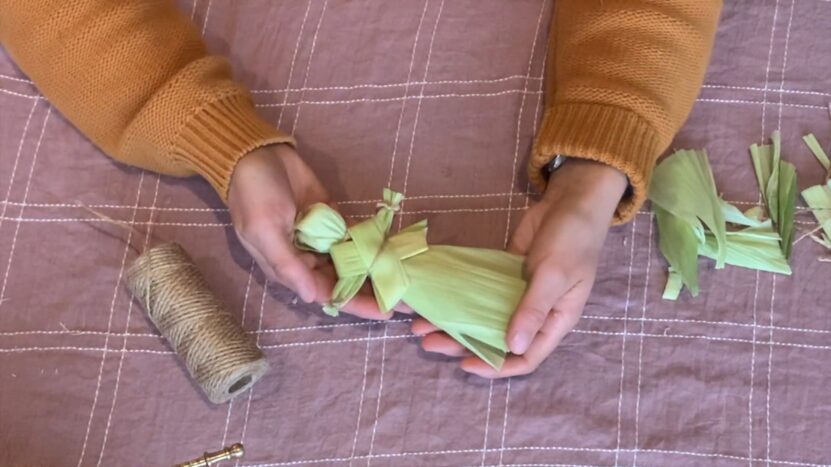
- Layering Husks: Layer multiple husks to create fuller skirts or more detailed clothing. You can dye different husks in varied colors to add vibrancy to the doll’s attire.
- Creating Furniture: Corn husks can be bent and tied to create miniature furniture for your dolls, such as chairs, beds, or baskets. This can make your dolls even more unique and can add a story-telling element to your craft.
- Adding Jointed Limbs: By using a bit of wire or thin sticks, you can give your dolls movable arms and legs. This can make your dolls more interactive and poseable.
Remember, practicing these techniques will enhance your skills over time, turning you into a master dollmaker!
Significance of These Dolls in Different Cultures
Corn husk dolls are significant in many cultures beyond the Native American tribes.
In Eastern Europe, for instance, corn husk dolls are a popular craft, especially in Slovakia and Ukraine. These dolls often represent people in traditional attire and are used as decorations during holidays and festivals.
Similarly, in Mexico, corn husk dolls, also known as ‘tamales’, are created during Christmas as ornaments or gifts. They are sometimes even used in religious ceremonies.
Understanding the cultural significance of these dolls can add a new dimension to your craft and inspire unique designs.
Inspiration from Renowned Corn Husk Doll Artists
There are many talented artists who have taken the craft of corn husk doll making to extraordinary levels.
- Mohawk Corn Husk Doll Makers: This collective of artisans from the Mohawk tribe creates dolls representing their tribe’s traditional activities, like hunting or basket weaving. The level of detail in their work is inspiring.
- Santina Ketchum: Santina, a Seneca artist, creates dolls that tell stories of her tribe. She uses natural dyes and handwoven fabric to make her dolls stand out.
- Lois Sherr Dubin: Lois, author of ‘The History of Beads: From 30,000 B.C. to the Present,’ is also known for her intricate corn husk dolls, which she often embellishes with beadwork.
These artists can provide a great source of inspiration as you continue your journey in corn husk doll making.
Hosting a Doll Workshop
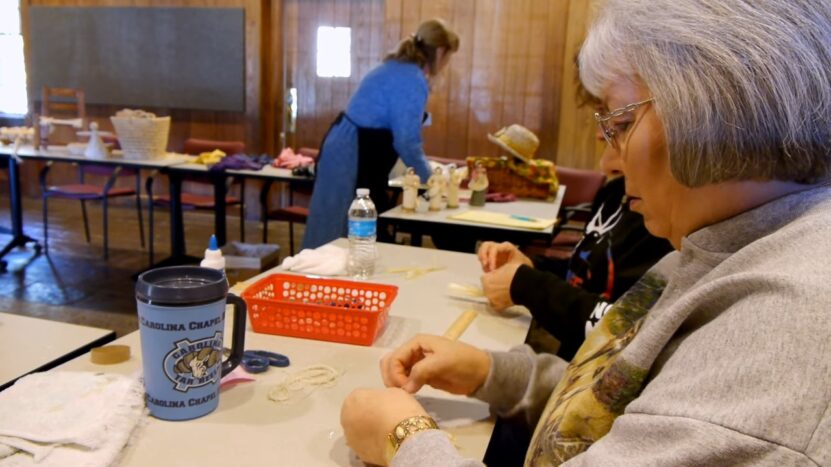
One of the joys of mastering a craft is the opportunity to share your knowledge with others. Hosting a corn husk doll workshop can be a wonderful way to spread your love for this traditional art form.
Here’s how you can get started:
- Plan Your Workshop: Determine how many people you can accommodate, the length of the workshop, and what techniques you will teach.
- Gather Supplies: Ensure you have enough corn husks and other supplies for each participant.
- Advertise: Share your workshop details on community boards, social media, or local craft stores.
Remember, patience and encouragement are key when teaching. Your passion for corn husk dolls will surely inspire your workshop attendees!
Closing Thoughts
Crafting corn husk dolls is more than just a delightful hobby. It’s a way to connect with history, honor an ancient tradition, and enjoy the simplicity and beauty of natural materials. And remember, every doll you make is unique and carries a piece of your creativity and spirit.
So go ahead and try making your own corn husk doll today. Whether as a decor item, a special gift, or a storytelling tool for children, your handmade corn husk doll is sure to be cherished!